Want to explore the world of asynchronous messaging with RabbitMQ? Let’s build a simple testbed using Python to see how producers and consumers interact. All the code below is in github repo, in app directory.
Repo is a work in progress. To run RabbitMQ instance run docker-compose up -d in repo root.
Our Toolkit: Pika and a Bit of Python Magic
We’ll use Pika, a Python client for RabbitMQ, to handle the communication heavy lifting. Here’s a breakdown of the key components:
1. The Foundation: rabbit.py
This file houses our RabbitMQ class – the backbone of our messaging system. It provides:
- Connection Management: Establishes and manages the connection to our RabbitMQ server, gracefully handling connection errors using the
connection_error_handlerdecorator.@connection_error_handler def connect(self) -> None: """Establish connection to RabbitMQ server""" if not self.connection or self.connection.is_closed: self.connection = pika.BlockingConnection(self.parameters) self.channel = self.connection.channel() logger.info("Successfully connected to RabbitMQ")
Channel Setup: Creates a communication channel over the connection, essential for sending and receiving messages.
Queue Declaration: Ensures the existence of a queue with a given name, making our system more robust.
@connection_error_handler
def setup_queue(self, durable: bool = True) -> None:
    """Declare the queue for publishing/consuming """
    self.channel.queue_declare(queue=self.queue_name, durable=durable)
2. The Messenger: producer.py
Meet the RabbitPublisher – a class dedicated to sending messages. It extends our base RabbitMQ class and introduces:
- Queue Targeting: Focuses on a specific queue to send messages to.
- Message Publishing: Provides a simple
publishmethod to effortlessly send messages to the designated queue.def publish(self, message: str) -> None: """Publish a message to the queue""" self.channel.basic_publish( exchange="", routing_key=self.queue_name, body=message ) logger.info(f"Published message to queue: {self.queue_name}")
3. The Listener: consumer.py
This is where we introduce the RabbitConsumer, also extending RabbitMQ, and responsible for:
- Continuous Consumption: Constantly listens to the specified queue for incoming messages using
basic_consume. - Message Handling: When a message arrives, it’s processed by a user-defined callback function, providing flexibility in how you handle data.
def consume(self, callback: Callable) -> None: """Start consuming messages from the queue""" def wrapped_callback(ch, method, properties, body): try: callback(body) ch.basic_ack(delivery_tag=method.delivery_tag) except Exception as e: logger.error(f"Error processing message: {e}") ch.basic_nack(delivery_tag=method.delivery_tag) self.channel.basic_qos(prefetch_count=1) self.channel.basic_consume( queue=self.queue_name, on_message_callback=wrapped_callback ) logger.info(f"Started consuming from queue: {self.queue_name}") self.channel.start_consuming()
Putting It All Together
- Fire Up RabbitMQ: Ensure you have a RabbitMQ server up and running.
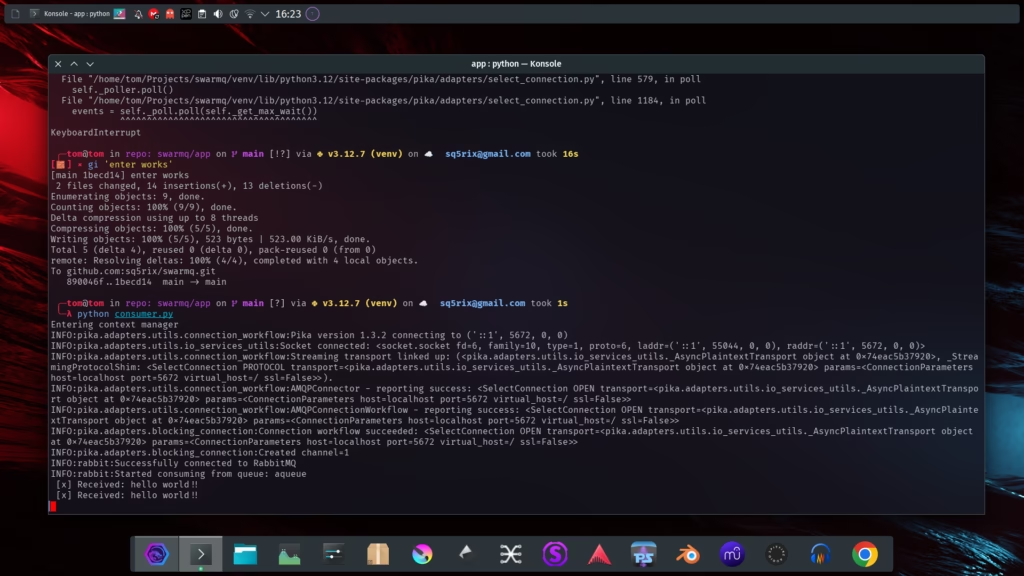
- Run the Consumer: Execute
consumer.py. It will connect to RabbitMQ, declare a queue (if it doesn’t exist), and patiently wait for messages.# consumer.py with RabbitConsumer("aqueue") as rabbit: rabbit.consume(callback) print(" [*] Waiting for messages. To exit press CTRL+C")
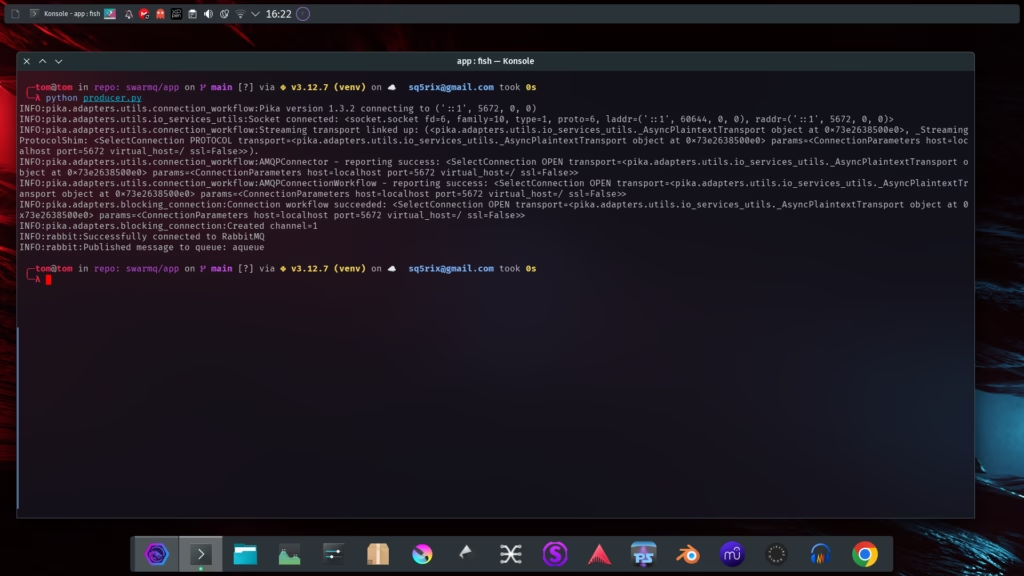
Send a Message: Run producer.py. It will connect, target the same queue as the consumer, and publish a “hello world!!” message.
# producer.py
rabbit = RabbitPublisher("aqueue")
rabbit.publish("hello world!!")
- Witness the Magic: Observe the consumer receiving and printing the message!
Beyond the Basics
This simple setup is a springboard for exploration:
- Experiment with Durability: Make queues persistent even after server restarts by setting
durable=Trueinsetup_queue. - Explore Exchanges: Route messages intelligently based on criteria beyond just queue names.
- Implement Acknowledgements: Ensure messages are processed successfully and handled appropriately in case of failures. Notice the use of
basic_ackandbasic_nackin the consumer’sconsumemethod for acknowledging or rejecting message delivery.
This RabbitMQ testbed provides a hands-on introduction to the world of message queues. Happy coding!
Code Listings:
rabbit.py
import logging
from functools import wraps
from typing import Any, Callable, Dict, Optional
import pika
# ... (Rest of the code)
producer.py
import json
import time
from rabbit import RabbitPublisher
# ... (Rest of the code)
consumer.py
import json
import time
from rabbit import RabbitConsumer
# ... (Rest of the code)
Using callback is in fact very simple – just pass function to the consumer and it will run when a message comes.
Installing RabbitMQ with Docker
Want to get RabbitMQ up and running quickly without the hassle of manual installation? Docker makes it a breeze! Here’s how:
- Install Docker: If you haven’t already, download and install Docker Desktop for your operating system from https://www.docker.com/products/docker-desktop/.
- Docker Compose (Optional but Recommended): While you can run RabbitMQ directly with the
docker runcommand, using adocker-compose.ymlfile offers better configuration management. If you don’t have Docker Compose installed, get it from https://docs.docker.com/compose/install/. - Create Your
docker-compose.yml: Create a file nameddocker-compose.yml(if you’re using Docker Compose) with the following content:version: '3.7' services: rabbitmq: image: rabbitmq:3-management hostname: rabbitmq restart: always ports: - "5672:5672" # AMQP protocol port - "15672:15672" # Management UI port environment: - RABBITMQ_DEFAULT_USER=${RABBITMQ_USER:-guest} - RABBITMQ_DEFAULT_PASS=${RABBITMQ_PASSWORD:-guest} volumes: - rabbitmq_data:/var/lib/rabbitmq healthcheck: test: ["CMD", "rabbitmqctl", "status"] interval: 30s timeout: 10s retries: 5 volumes: rabbitmq_data: driver: local
Explanation:
image: rabbitmq:3-management: We’re using the official RabbitMQ image with the management plugin included.ports:: Maps ports from your host machine to the container (5672 for AMQP, 15672 for the web UI).volumes:: Creates a persistent volume for RabbitMQ data, ensuring you don’t lose messages if the container restarts.healthcheck:: Configures Docker to periodically check the health of the RabbitMQ container.
Start RabbitMQ:
- Using Docker Compose: Navigate to the directory containing your
docker-compose.ymlfile in your terminal and run:docker-compose up -d
Using Docker Run: If you prefer a single command:
docker run -d --hostname rabbitmq --name my-rabbit -p 5672:5672 -p 15672:15672 rabbitmq:3-management
Access the Management UI: Open a web browser and go to http://localhost:15672. Log in with the default credentials (username: guest, password: guest).
You will see such image:

You see the jump in messages? I comes from the following commands run in two terminals:
Terminal 1 – publisher
Terminal 2 – consumer – it is running continuously:

The queue looks like this in the RabbitMQ interface:
You see a queue in interface.
This is basic code to understand next steps – extending agencies with RabbitMQ